Preparing AZ-104 : Creating Virtual Networks (VNet) from Azure portal – Important concept / feature in AZURE – Simplifying concepts

Hi All,
Greetings for the day !!!
We are preparing for the exam AZ-104 and discussing Virtual Networks.
In one of previous article we discussed the concept – Virtual Networks in depth. If you still didnt got a chance to read please have a s look – Preparing AZ-104 : Understand Virtual Networks (VNet) – Important concept / feature in AZURE – Simplifying
In this article we will discuss – How to create basic (means with default settings) Virtual network
I am using my free account to create Virtual network. If you do not have Azure account, try by creating free azure account. We have detailed article on the same, please have a look – Azure : creating Azure free account
Detailed steps to create Virtual network
- Login to AZURE portal – https://portal.azure.com
- Search for “Virtual network” as shown in below figure

- Click on “Virtual networks” under “Services“
- We will be redirected to “Virtual networks” listing page – https://portal.azure.com/#view/HubsExtension/BrowseResource/resourceType/Microsoft.Network%2FvirtualNetworks

- As currently there is no Virtual network available
- By clicking on “Create virtual network” button, we will start creating new Virtual Network, we will be redirected to “Create Virtual Network” blade as

- Complete the required details on first tab – “Basic” as

- Make sure we are using proper naming conventions for resources like – Resource Group and Virtual network name
- We have detailed article on AZURE resources naming conventions and best practices, please have a look once – Azure – Naming conventions to resources – Best Practices
- Here,
- Resource group name – rg-azure-dev-centralIndia-001 – creating new resource group
- Virtual network name – vnet-azure-dev-centralIndia-001
- Rest, we will go for default settings as in below screens
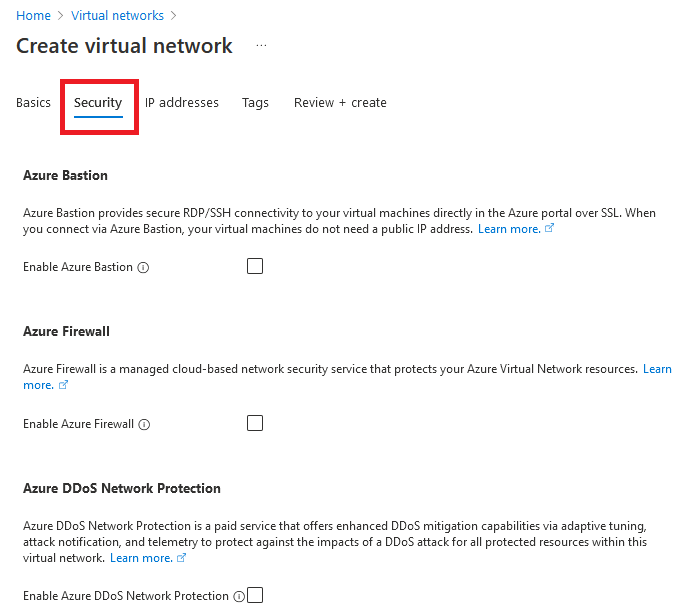
- I’ll discuss in depth – each and every tab in upcoming articles – subnet, IP addresses, Security and Tags

- For time being just go ahead and click on “Review + create” button
- as we click on “Review + create” button validation starts as in below figure

- As “Validation” pass, we are ready to create our first basic Virtual network as shown in below fig

- As we click on “Create” button as shown in above figure, deployment (creation of Virtual network) get initialized

- We will have status as in below figure – “Deployment is in progress“

- If VNet created successfully, we will get update on the same page as shown in below figure – “Your deployment is complete“


REFERENCES
- Azure – Naming conventions to resources – Best Practices
- Preparing AZ-104 : Understand Virtual Networks (VNet) – Important concept / feature in AZURE – Simplifying concepts
- Azure : creating Azure free account
Thanks for reading. If you think worth reading, please share, like. To know more / explore AZURE please subscribe.
HAVE A WONDERFUL TIME AHEAD !!! ENJOY THE BEAUTIFUL LIFE 🙂


You must be logged in to post a comment.