We Wish You And Your Family, A Very Happy, Prosperous, Healthy, Peaceful And Successful New Year Ahead. God Bless You All. 😊
In my last blog, I have discussed about basic concept of Azure Site Recovery (ASR). Today in this article, we will discuss, How to configure Azure Site Recovery (ASR) using Azure portal. So let’s go through the following steps. I have included self descriptive figure to each step , so that it will be easy to understand, with current version of Azure portal.
If you have missed our previous articles on Azure Migration And Backup, please check it in following link.
Create New Vault: To proceed with this configuration, the first step is to create a new Vault.The new vault must be created in a resource group which is in any region but if we are migrating or configuring disaster recovery for an Azure environment then the vault should be created in any region except the source environment region.
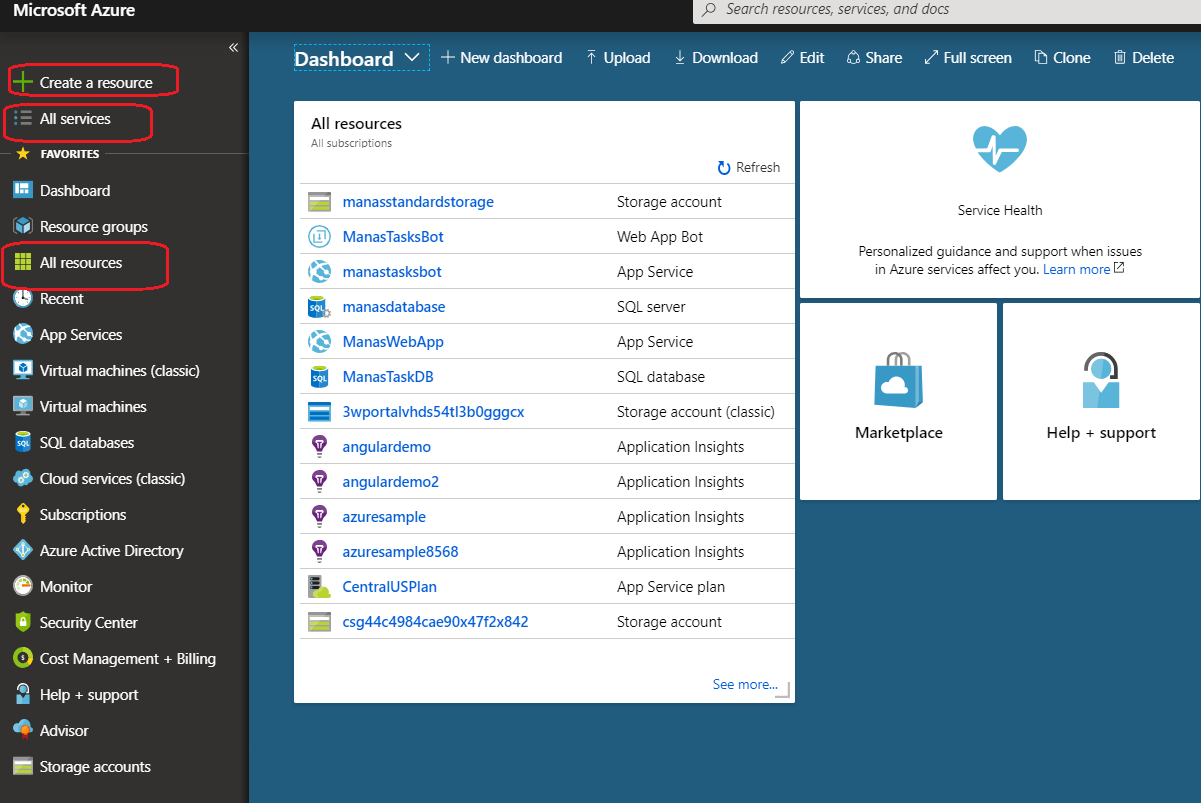
Connect to your Azure portal dashboard using your subscription account. If you don’t have any subscription, in that case you can get trial Azure subscription with one-month of validity. Then you can connect to the azure portal dashboard as in following figure.Figure 1: Azure ASR – portal dashboard
From Market place page select Monitoring & Management > Backup and Site Recovery (OMS) and click Create button to create a new vault, as shown in the following figure. Figure 3: Azure ASR – Create-Backup-and-Site-Recovery
. In Create Vault page, we need to provide the details for the vault. In Name, specify a friendly name to identify the vault. If we have more than one subscription, select the correct one. Create a new resource group or select an existing one. As we have already discussed, if the source environment is in Azure, then we need to select the region for new vault to any available region other than the region of the source environment. Check Pin to dashboard to find the vault more easily and then click Create. It will take few second to create the new Vault. Figure 4: Azure – Create-Vault
Once our Vault created, then we need to verify few of the following points before proceed configuring the replication.
Verify that our Azure subscription allows us to create VMs in the target region.
We need to make sure our subscription has enough resources to support VM sizes that match our source VMs. Because site recovery picks the same size, or the closest possible size, for the target VM.
Again we need to verify and if required modify outbound network connectivity from the VMs that we want to replicate. This will help ASR to work as excepted.
We should check that the VMs ,we want to replicate ,have the latest root certificates. If they don’t, then the VM can’t registered to Site Recovery, due to security constraints. We can upgrade our OS to achieve this.
Azure Site Recovery provides three built-in roles to control site recovery management operations. We need to set permission on the account. I got following information from one of the Microsoft document regarding those built-in roles. Azure Site Recovery provides three built-in roles to control Site Recovery management operations. We need to set permission on the account. I got following information from one of the Microsoft document regarding those built-in roles.
Site Recovery Contributor – This role has all permissions required to manage Azure Site Recovery operations in a Recovery Services vault. This role is best suited for disaster recovery administrators who can enable and manage disaster recovery for applications or entire organizations.
Site Recovery Operator – This role has permissions to execute and manage Failover and Failback operations.
Site Recovery Reader – This role has permissions to view all Site Recovery management operations.
Enable replication for Azure VM as source : We have our Manas-MSTECHs-Vault ready for use. We have a case study like, We have a VM ( ASRSourceVM) in South India region and we want to migrate that Azure VMa to a different region . In this Article we will configure the Replication and In my next article will describe how to Fail-Over the VM. Let’s go through the following steps to add a new replication.
Click on newly created vault(Manas-MSTECHs-Vault) . On vault page we can see there are options to configure Back-Up and add new Replicated Item, as shown in the following figure.Figure 6: Azure ASR – portal dashboard
This will allow to configure a new Replicated Item for our case study. On Enable Replication page , there are 3 different sections to configure. Source configuration is the first among them. In this section we need to provide required information of our source environment. There will be different input view for different Source. Here we are going to replicate the VM from Azure. So in this case , I would select Azure as source and accordingly the input view is as shown in the following figure. There will be different view if we select “On-Premise” as source. Figure 8: Azure ASR – Configuring Source
After providing all information click OK to proceed to the second section , where we need to select the Virtual Machine , we want to replicate and click OK to proceed to the third and last section.
In the last section, the target environment need to be configure so that ASR will create all required target resources. Azure Site Recovery creates default settings and replication policy for the target region. You can change the settings as required . To override the default target settings, click Customize next to Resource group, Network, Storage and Availability. As shown in the following figure, we need to set information like, Target Location, Target Subscription, Target resource group Replication policy etc..Once we done with all required configuration , click Create Target Resources button to finish the configuration.Figure 9: Azure ASR – Configuring target resources
After we click on Create Target Resources button, then ASR will ask to Enable Replication, once it created all required resources as per the configuration. As shown in the following figure, click Enable Replication button to start replicating the item.Figure 10: Azure ASR – Enable Replication
It will take some time to enable the replication.We can check the notification if the deployment is successfully done.Once it is done, we can see the newly created Replicated Item in the list, as shown in the following figure. Figure 11: Azure ASR – Replicated Item
We have now successfully replicated a new Item after configuring the ASR . To verify the newly created replicated item, let’s check it’s overview. We can see in the following figure, there are two button on the top blade “Failover” and “Test Failover” marked in red rectangle. We have described in detail of those button in our next articles. Our next article is about Test Failover of our azure VM. Figure 12: Azure ASR – Replicated Item overview
Thanks for
reading 😊
Keep reading, share your thoughts, experiences. Feel free to contact us to discuss more.
If you have any suggestion / feedback / doubt, you are most welcome. Stay tuned on Knowledge-Junction, will come up with more such articles
I'm a proud Indian, Son, Husband, Father, Author, Blogger, Self motivated person. I lives in Pune, Maharashtra and working for TietoEvry.pvt.ltd, to build Azure Solutions and Share Point Solutions.Microsoft certified Professional with 14 years of IT experience. Interest in learning and sharing something new, to be healthy.
[…] I hope this blog, gives you basic understanding about Azure Site Recovery (ASR). In our next article, we will describe, how to Configure Azure Site Recovery (ASR) through Azure Portal. […]
[…] continue with my last article Set Up Azure Site Recovery (ASR) using Azure portal. In that article, we have discussed hoe to configured our ASR Manas-MSTECHs-Vault and also we have […]


Very useful one. Keep writing on azure.