M365 – Convert SharePoint List Items to Planner Tasks Using Power Automate

Hi Everyone
I hope everyone is doing great!!!
Recently I was working on migration activity, which required document library migration, user groups and list migration. So, there was one generic list whose columns we could map with planner task properties such as Task Name, Start Date, Due Date, Assigned To, Status etc. We thought if we can manage our tasks and activities through planner, end user don’t have to maintain the sp list. There were more than 800 list items to convert.
So, I started working on this POC which came out to be successful, so I am sharing it with you. For the sake of demonstration and understanding I have created a demo list.
Setup was as below:
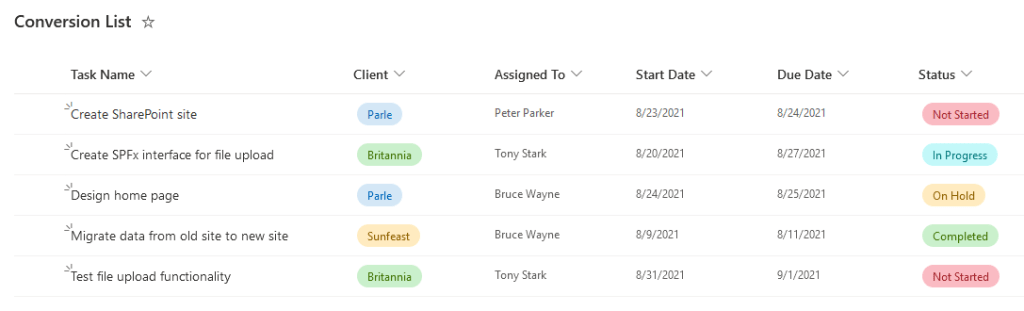
- List available in SharePoint (List name: Conversion List)
- Tasks to be created in Planner
- To create tasks and update its details automatically I used Power Automate (Our key part is here)

Figure 1: List to be converted
Mapping of SP list columns with planner task properties:
| Planner | SP List Columns |
|---|---|
| Bucket Name | Client |
| Task Name | Task Name |
| Assign To | Assigned To |
| Start Date | Start Date |
| Due Date | Due Date |
| Status | Status |
Now let’s get started with the flow.
- As this is being onetime activity, I created Instant cloud flow which can be triggered manually.

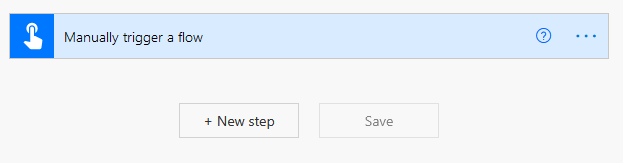
2. Give the name to the flow, and under Choose how to trigger this flow select Manually trigger a flow and click Create.

3. After flow is created, you will see it as follows
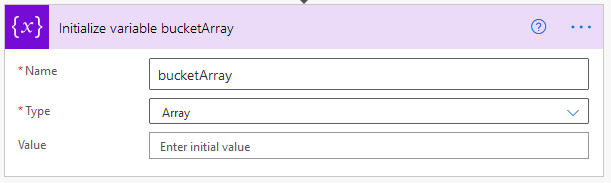
4. Add the step -> Initialize variable, give name to the variable and select its type to Array.
5. Add the step -> Get items, select Site Address and List Name

6. Add the step -> Append to array variable, select the name bucketArray and in the value field add Client Value from dynamic content.

7. As soon as you select Client Value it will wrap your Append to array variable action with Apply to each.

8. Add the step -> Compose, in the Inputs field add the expression: union(variables(‘bucketArray’), variables(‘bucketArray’))
This is because, if you see our list all Client values are added to bucketArray variable, and to create bucket we require unique values.

9. Add the step -> Apply to each, and select output of compose action in the Select an output from previous steps field.

10. Inside the loop, click Add an action and add Create a bucket action.
11. In the Name field select Current Item, as it is looping through each bucketArray element.

12. Select respective Group Id and Plan Id.

13. Give 5 second delay, to make sure all the buckets are created and our next step is depending on create bucket action. Sometimes, it throws error that “Bucket with the name does not exists”, that’s why delay is needed.
14. Add the step -> List Buckets, select Group and Plan Id

15. Add the step -> Apply to each, in the field Select an output from previous steps select value which is output of List Bucket action.

16. Click Add an Action, in the From field select value which is output of Get items action, and filter when Client Value is equal to name of bucket, so only those items will be brought up where filter criteria is met.

17. Add Apply to each, to loop through each filtered item, in the field Select an output from previous steps select Body which is output of Filter Array action.

18. Click Add an action, and add Create a task. Select Group Id, Plan Id, in the title field add an expression: item()?[‘Title’]. Similarly for Start Date, Due Date, Assigned User Ids do the same but instead of Title put their internal names, select Bucket Id.

19. Click Add an action, add Update a task, in the field Task Id select the id of the task which is output of Create a task action. And in the Progress field add expression: item()?[‘MDCStatus/Value’]

20. Our flow is complete. Let’s run it. Complete flow given below:

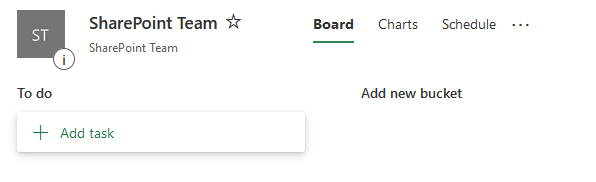
21. Before flow runs, planner looks like below:
22. Tasks must have been created in the Planner. Planner after flow run.

Limitations of Planner or Power Automate:
As there are advantages of anything, limitations also come with it. Our flow runs successfully and tasks are also created and ready to use but we should know the limitations of Flow and Planner also.
- Power Automate Planner related actions doesn’t provide any property to set priority value of task.
- For the completed tasks planner marks it as completed by the user account with which flow is run.
- We cannot add custom status values to Planner. Only we can use statuses provided by planner which are Not Started, In progress and Completed. You can map other statuses (On Hold, In Review etc.) to In progress.
Thanks for reading.
Please like, share, comment.


Thanks a lot for sharing the flow. I tried to replicate it and got the task name, start, due date and status imported however the task is still unassigned. Can you maybe explain what could be the reason behind that. It will be great to speak in more detail regarding this
Hi Jaskirat,] which must be wrong, if it is correct could you please share screenshot of flow?
In the step 18 (blog) we have to provide item()?[
I will be happy to help.
In step 11, I do not get a ‘loop through’ .
Are you creating “Create a bucket” action outside the loop? It should be inside the loop. Then you would see current item for the loop.