Azure – Create An Azure Storage Account
Hello Friends,
This is our part-3 post on Azure Exam : Developing Microsoft Azure Solutions. Our last post was on, Managing Azure Virtual Machine Disks.
Today in this blog, we will discuss, how to create Azure storage account. So let’s go through the post for detail steps.
- Connect to your Azure portal dashboard using your subscription account. If you don’t have any subscription, in that case you can get trial Azure subscription with one-month of validity. Then you can connect to the azure portal dashboard as in following figure.
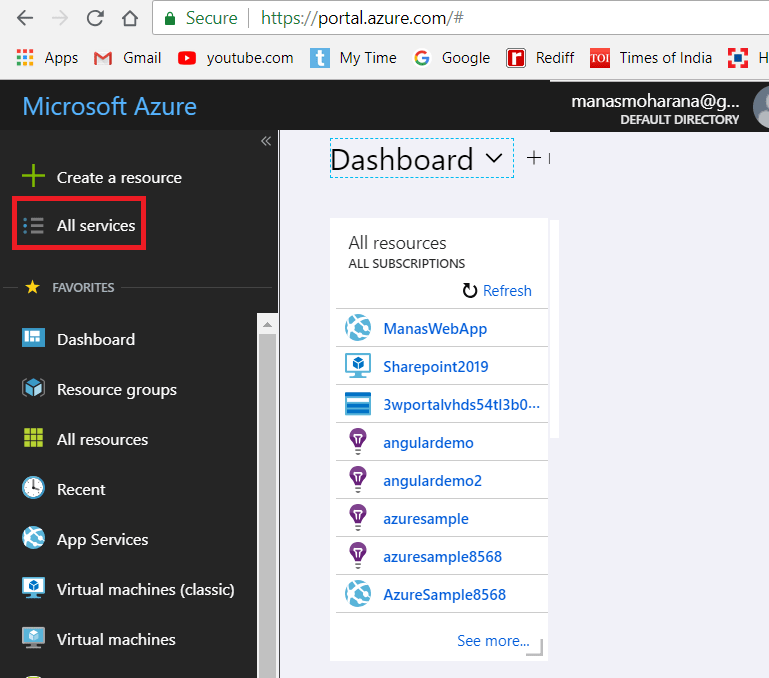
Figure 1: Azure Certification – portal dashboard - Once we are on the portal dashboard, click on Storage Account link from let menu.It will lists all existing storage accounts.Sometimes in new azure dashboard, the Storage Account option not visible.In that case we need to go to all services and from Storage section, pin the Storage Account option to dashboard.Once it is visible on the dashboard , click on the Storage Account link, as shown in the following figure.
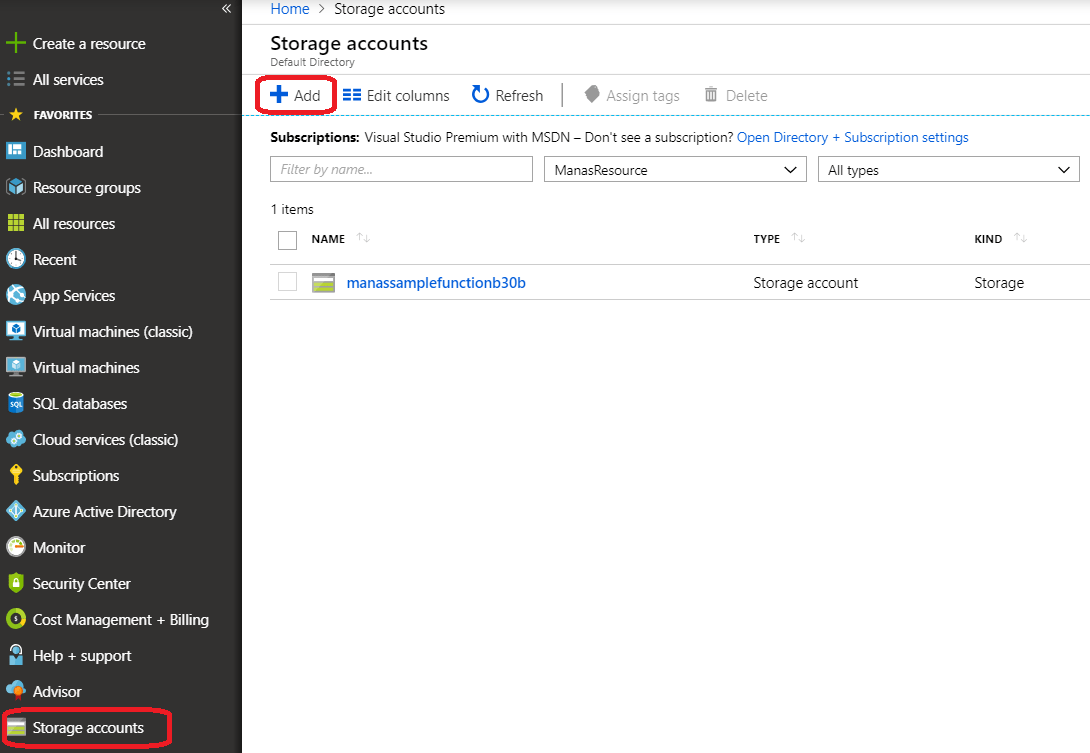
Figure 2: Azure Certification – Storage Accounts - To create a new storage account, click on Add button, as shown in the following figure.
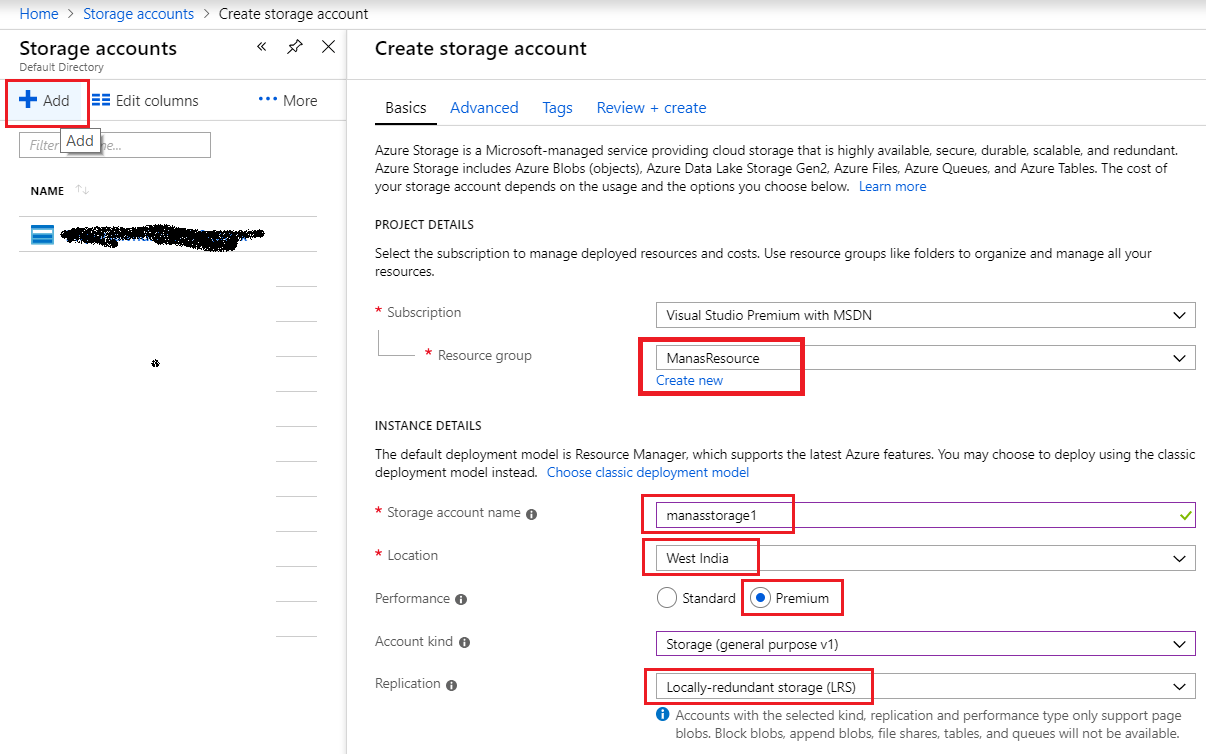
Figure 3: Azure Certification – Create new storage account 1 - We need to provide all required information as per the requirement like, Resource Group, Storage Account Name,Location Performance,Replication etc, as shown in the following figure.
Figure 4: Azure Certification – Create new storage account 1 - In case of performance we have two options, we should choose Premium, if we want this storage account should support SSD. More information can be found in the following figure.
!–more–>
Figure 5: Azure Certification – Selection of Performance - Same as performance we have choose Replication,by default it is LRS. Which guaranty of high availability by maintaining 3 copy of data.More information can be found in the following figure.

Figure 6: Azure Certification – Selection of Replication - Once we provide all required information, click Review + Create.It will first verify all provided information and ask us to click the Create button if verification passed as shown in the following figure.
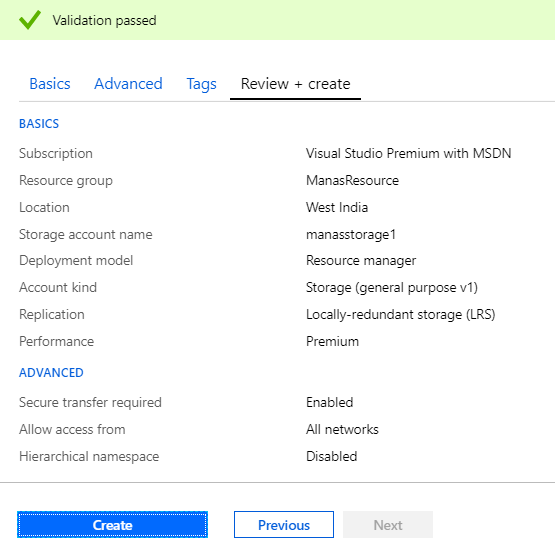
Figure 7: Azure Certification – provided input pass the verification. - After click the Create button, it will take some time to create the Azure storage account and send successfully deployed message on the page, as shown in the following figure.
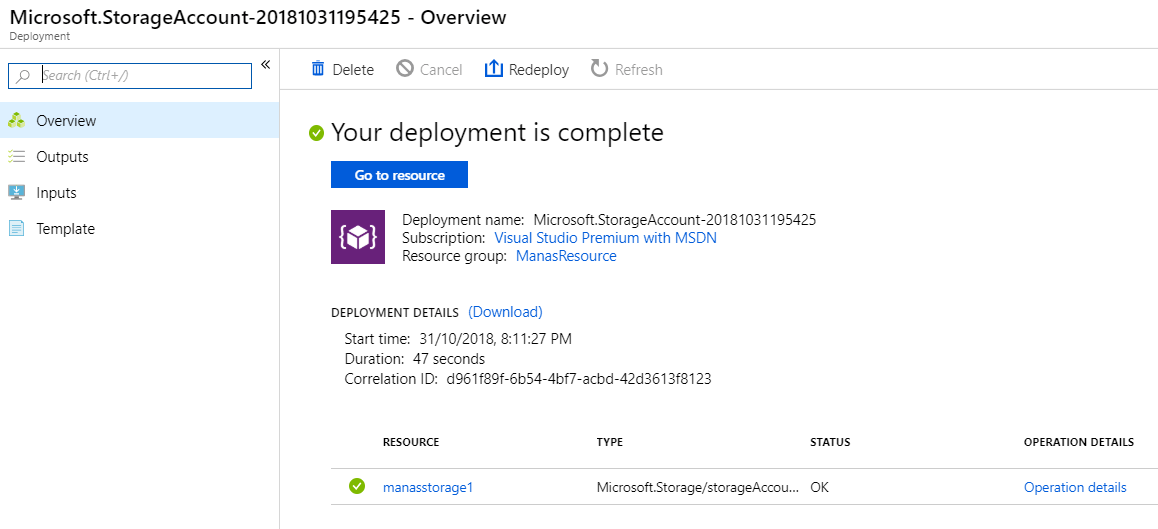
Figure 8: Azure Certification – Deployed successfully. - Once we got the successful message, go back and click Azure Storage Account link and click on newly created Azure storage account. It will show the overview of the newly created storage account, as shown in the following figure.
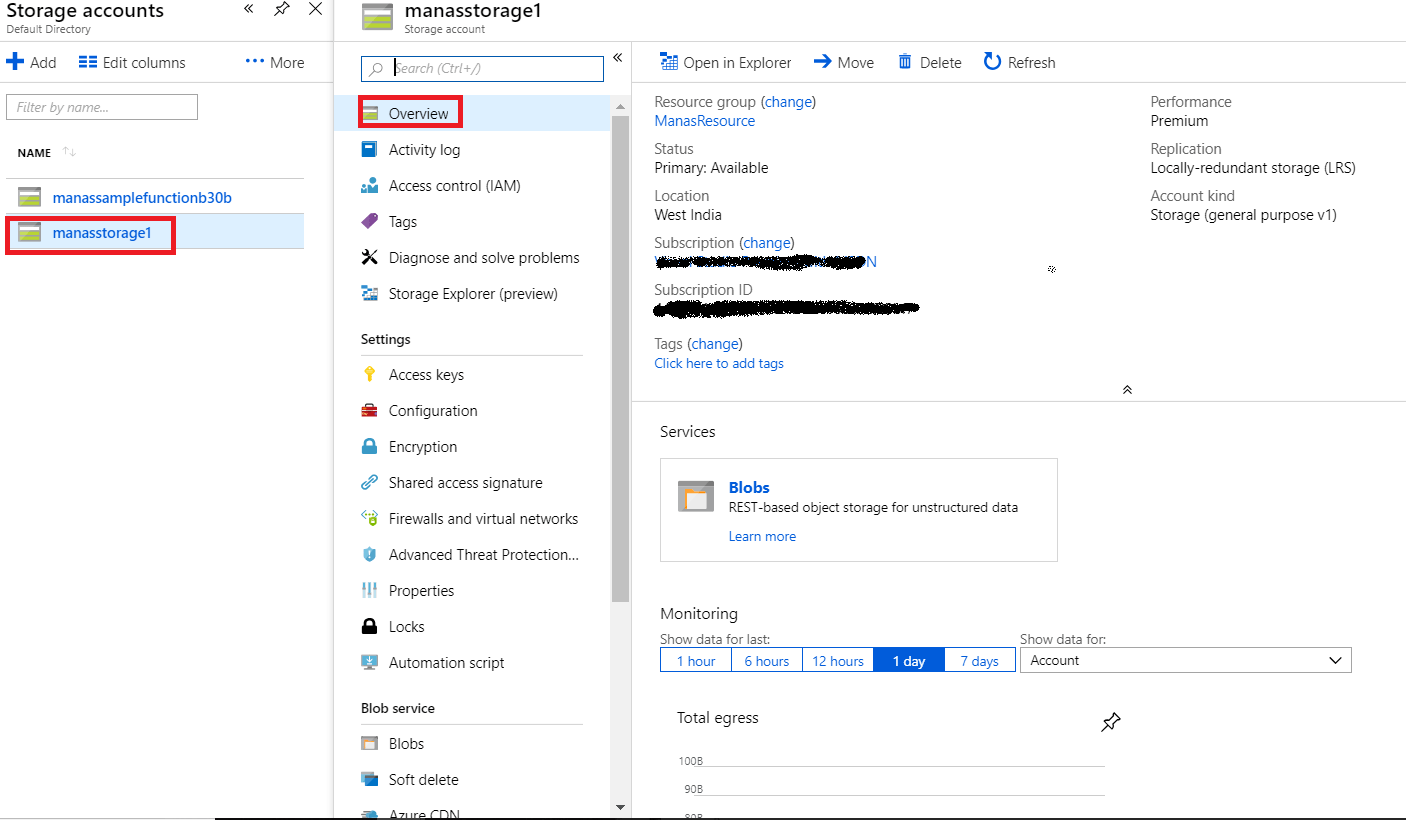
Figure 9: Azure Certification – New storage account overview.
I hope this blog, gives you basic understanding about Azure storage account.
Thanks for reading 🙂
Keep reading, share your thoughts, experiences. Feel free to contact us to discuss more. If you have any suggestion / feedback / doubt, you are most welcome.
Stay tuned on Knowledge-Junction, will come up with more such articles.
More Posts On Exam 70-532: Developing Microsoft Azure Solutions :
Azure – Create New Azure Virtual Machine
Azure – Managing Azure Virtual Machine Disks
Azure – Configuring Shared Storage Using Azure File Service
Azure – Working with Azure CLI
Azure – Create a Virtual Machine with Azure Power Shell
Azure – Deploying a Web App to Azure Virtual Machine with Web Deploy method
Azure – Remote debugging on an Azure VM
Azure – Azure Automation State Configuration
Azure – Configure Azure PowerShell Desired State Configuration (DSC) Through Azure Portal


Very informative , thanks for sharing.
Very informative, thanks for sharing.