Microsoft Azure Storage and Database Part 25 – Azure File Service – Storage Sync Service – Configure Azure File Sync – 1

Hello Friends,
Hope you all are doing good !!! 🙂 .
In our previous article we have discussed One Very Useful Azure Storage Sync Service. Today in this article we will see how to configure or Deploy Azure File Sync Service.
Tool Installation Articles :
- Configure Azure Command Line Interface ( Azure CLI) On Windows
- Configure PowerShell For Microsoft Azure Az Module On Windows
Previous Azure series :
- Learn Basics Of Azure Networking In 60 Hours
- Learn Basic Of Azure Active Directory And Azure Identity And Access Management
- Azure DevOps – Learn at one place
If you have missed our previous articles on Azure Storage and Database Series, please check it in following links.
Part 1 – Overview Of Azure Storage and Database
Part 2 – Azure Storage Account
Part 4 – Work With Azure Blob Storage
- .
- .
- .
- .
Part 20 – Azure File Service – BackUp And Restore Azure Files From The File Share Pane
Part 21 – Azure File Service – Create And Manage File Share Snapshots Using PowerShell
Part 22 – Azure File Service – Configure Azure File Share Back Up Using PowerShell
Part 23 – Azure File Service – Restore Azure Files From Back Up Using PowerShell
Part 24 – Azure File Service – Storage Sync Service
Next Article : Part 26 – Azure File Service – Storage Sync Service – Configure Azure File Sync – 2
Azure File Sync Service
File shares can be replicated on-premises or in Azure and accessed through SMB or NFS shares on Windows Server using Azure File Sync. Azure File Sync is useful for scenarios where, data needs to be accessed and modified far away from an Azure datacenter, such as in a branch office scenario. Data may be replicated between multiple Windows Server endpoints, such as between multiple branch offices. It makes it easy to solve global access problems introduced by having a single point of access on-premises, or in Azure by replicating data between Azure File shares and servers anywhere in the world.
Azure File Sync enable us to successfully manage following scenarios.
- Centralize file services in Azure storage
- Cache data in multiple locations for fast, local performance
- Eliminate local backup and DR
Benefits Of Azure File Sync
Azure File Sync extends on premises files servers into Azure providing cloud benefits while maintaining performance and compatibility. We can get following benefits by using File sync.
Multi-site access –Provide write access to the same data across Windows Servers and Azure FilesCloud Tiering –Store only recently accessed data on local serversIntegrates with Azure backup –No need to back up your data on premisesRapid DR –
Uses Of Storage Sync Service
We have gone through the theory pat of this service in our last article as well as little bit in this article. Now time to see it through lab exercise. Following are the sections needs to be configure.
Configure Storage Account And File ShareDeploy The Storage Sync ServiceConfigure Azure File Sync Client On Window ServerRegister Windows Server with Storage Sync ServiceConfigure Sync GroupAnd Cloud EndpointConfigure Server Endpoint
1 ) Configure Storage Account And File Share :
The first thing to check if we have our Storage Account and our File share ready with us, if it is not ready create them as specified in the following articles.
In our case, we have our Storage Account and File Share is ready with us as showing in the following figure.

2 ) Deploy the Storage Sync Service :
The next step is to deploy the Storage Sync Service. When we deploy the Azure File Sync, in turn it will place a Storage Sync Service resource into a resource group of our selected subscription. It is recommended by MS to deploy as many storage sync services as we required to separate groups of servers. Because servers from different storage sync services cannot sync with each other. Following steps are described, how to configure the Azure File sync in Azure.
Step 1 – Login to Azure Portal.
Step 2 – Then search for Azure File Sync from Marketplace.

Step 3 – In the search results, click on Azure File Sync, and it will open the Deploy Storage Sync tab as showing in the following figure.

Note : The Storage Sync Service inherits access permissions from the subscription and resource group it has been deployed into. Microsoft recommend that we should carefully check who has access to it. Entities with write access can start syncing new sets of files from servers registered to this storage sync service and cause data to flow to Azure storage that is accessible to them.
Step 4 – As showing in the above figure, on the pane that opens, enter the following required information in the Basic tab
- Name : A unique name (per region) for the Storage Sync Service.
- Subscription : The subscription in which we want to create the Storage Sync Service.
- Resource group : A resource group is a logical group of Azure resources, .We can create a new resource group or use an existing resource group for Azure File Sync.
- Location : The region in which we want to deploy Azure File Sync. Only supported regions are available in this list.
Once we provide the above details, click Tac tab to add tags as showing in the following figure. If not required we can skip it as it is and click Review + Create button.
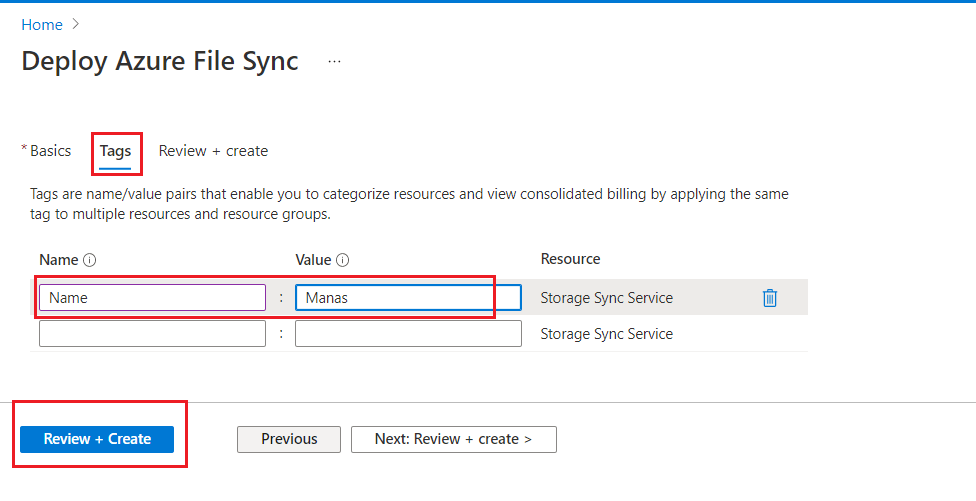
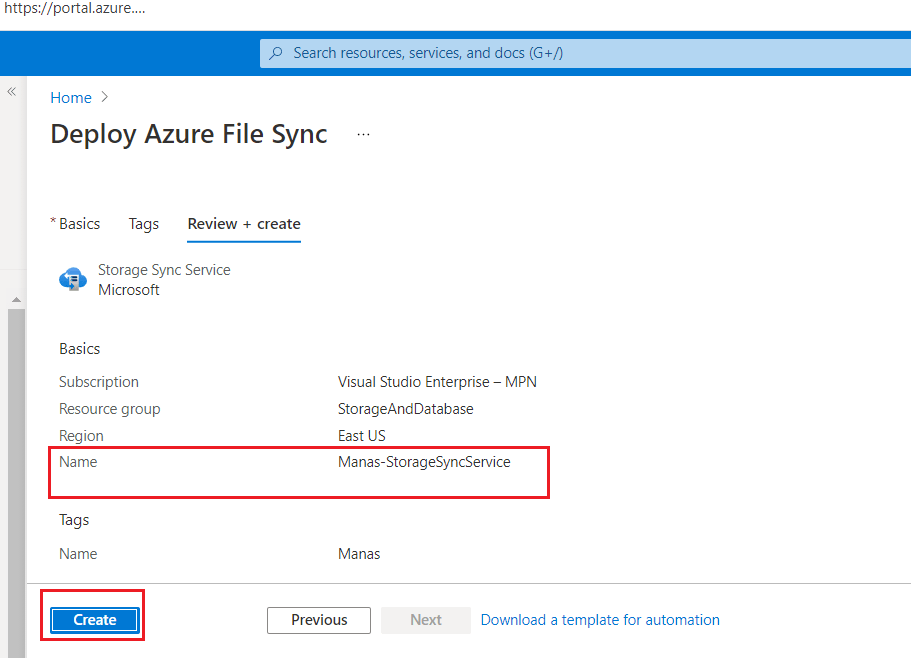
Step 5 – Confirm the information we have provided and click Create button to deploy the Azure File Sync Service showing in the following figure.
It will take to some time to deploy the resource as showing in the following figure.

Step 6 – Once resource deployed, go to the resource by clicking Go to resource button. it will take us to our newly created Storage Sync Service overview page as showing in the following figure.
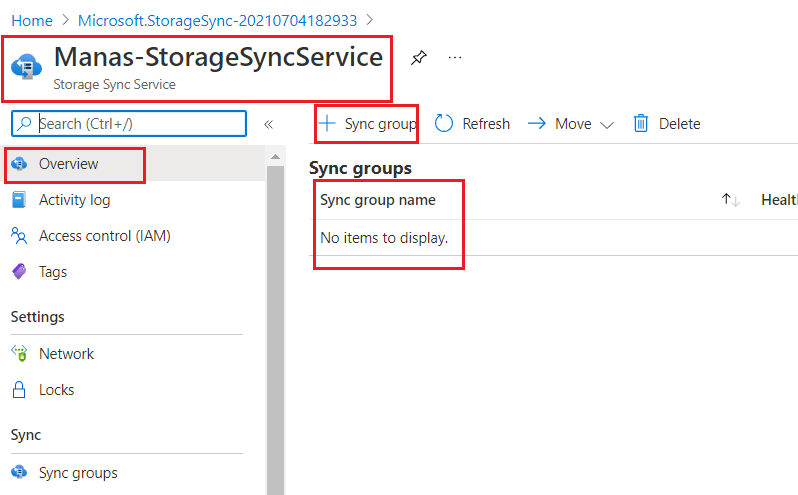
Finally it will add a new Item in the Storage Sync Service page as showing in the following figure.

3 ) Configure Azure File Sync Client On Window Server :
In this section we will download and install Azure File Sync Client application to all of our Window Server. For our exercise, we will install the client gent on our two Window Server 2019 server. Let’s go through the following steps.
Step 1 – Log in to both Window servers.
Step 2 – Open Server Manager, Click Local Server and On the Properties sub-pane, select the link for IE Enhanced Security Configuration.

Step 3 – In the Internet Explorer Enhanced Security Configuration dialog box, select Off for Administrators and Users. For each server that we intend to use with Azure File Sync, disable Internet Explorer Enhanced Security Configuration. This is required only for initial server registration, as we can re-enable it after the server has been registered.


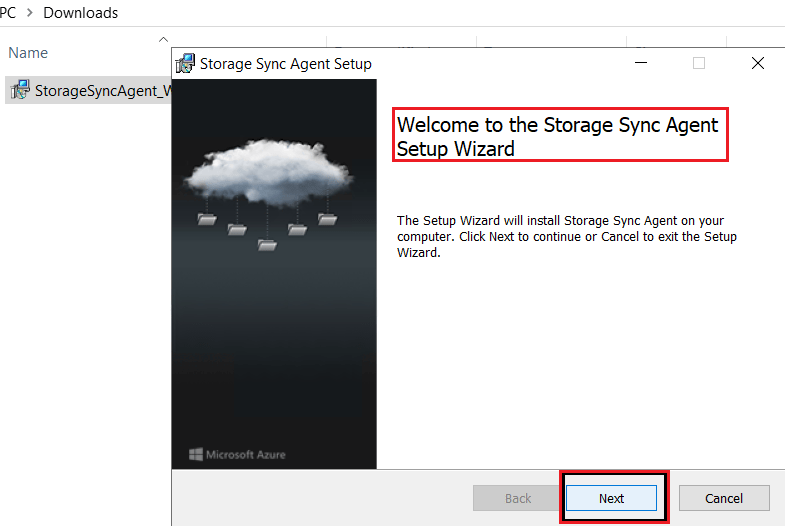
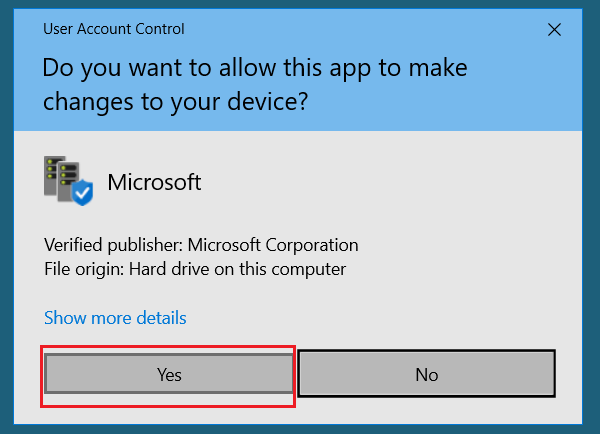
Step 4 – Download and Install Azure File Sync Client agent from Microsoft site. We can download the agent from the Microsoft Download Center by choosing correct Operating System of our server. In our case we have selected for Window Server 2019 as showing in the following figures.
Note : If you intend to use Azure File Sync with a Failover Cluster, the Azure File Sync agent must be installed on every node in the cluster. Each node in the cluster must be registered to work with Azure File Sync.
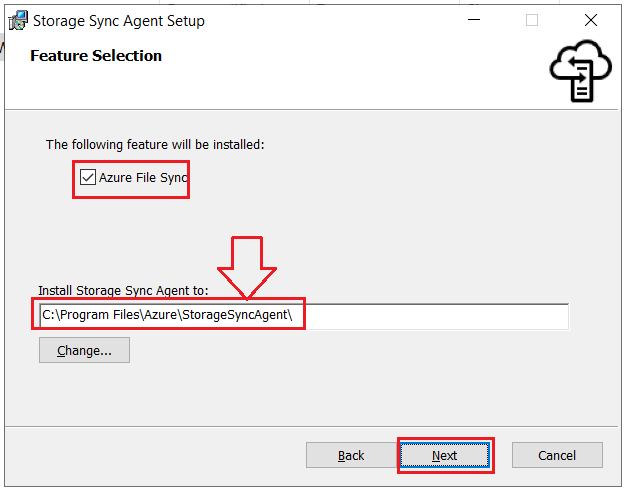
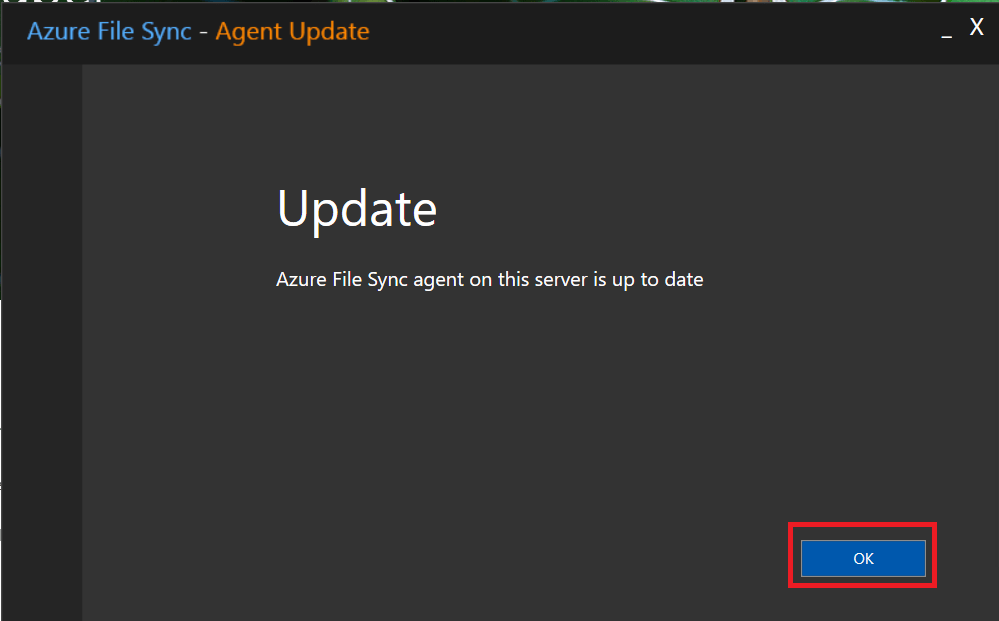
Microsoft Recommendation : Leave the default installation path (C:\Program Files\Azure\StorageSyncAgent), to simplify troubleshooting and server maintenance and enable Microsoft Update to keep Azure File Sync up to date. All updates, to the Azure File Sync agent, including feature updates and hotfixes, occur from Microsoft Update. We recommend installing the latest update to Azure File Sync. For more information, see Azure File Sync update policy.


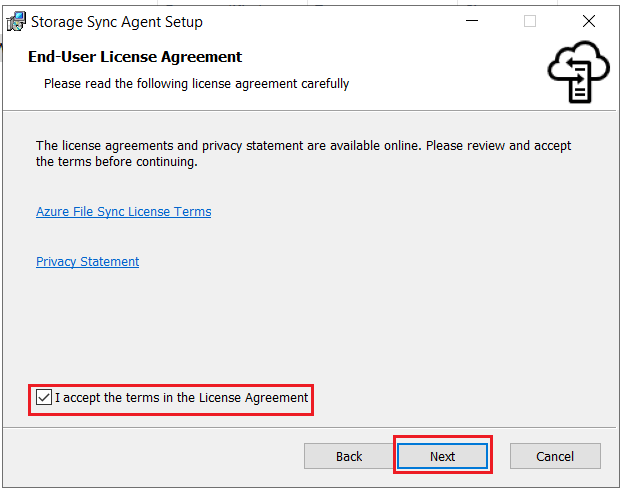
Step 5 – As showing in the following figures, Install the client agent in each of the window server.
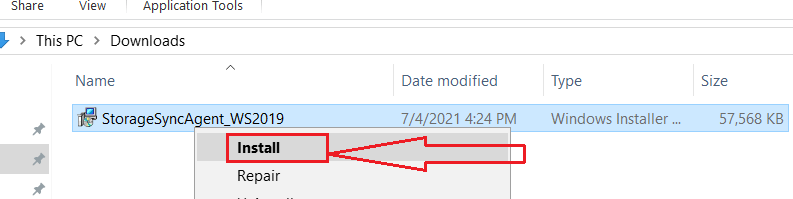
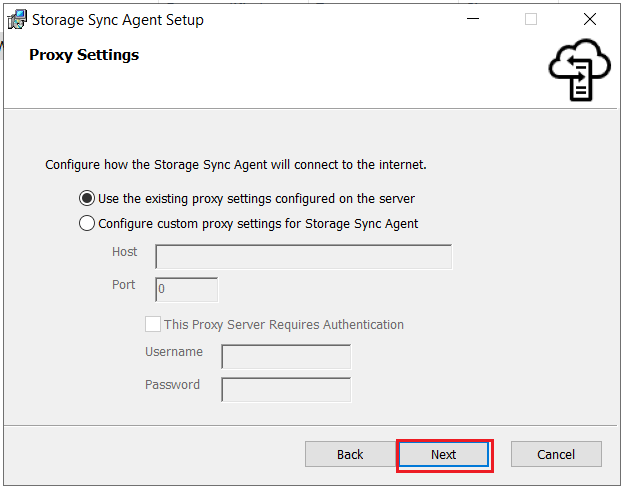
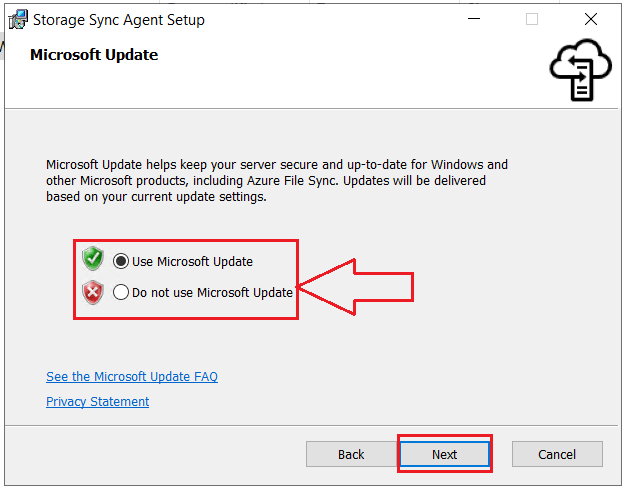
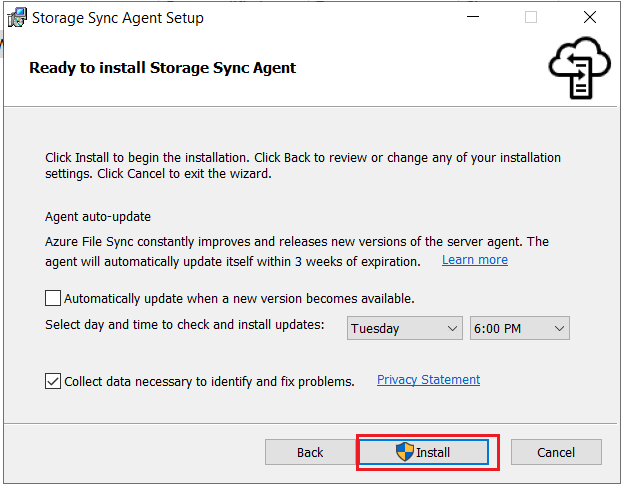

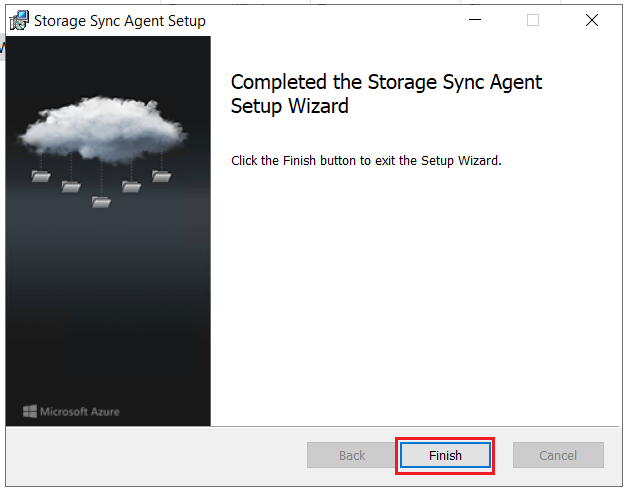
Do the above installation on each server and we need to be careful when, we are choosing the supported OS version.
4 ) Register Windows Server With Storage Sync Service :
The administrator registering the server must be a member of the management roles Owner or Contributor for the given Storage Sync Service.
Registering our Windows Server with a Storage Sync Service establishes a trust relationship between our server (or cluster) and the Storage Sync Service. A server can only be registered to one Storage Sync Service and can sync with other servers and Azure file shares associated with the same Storage Sync Service.
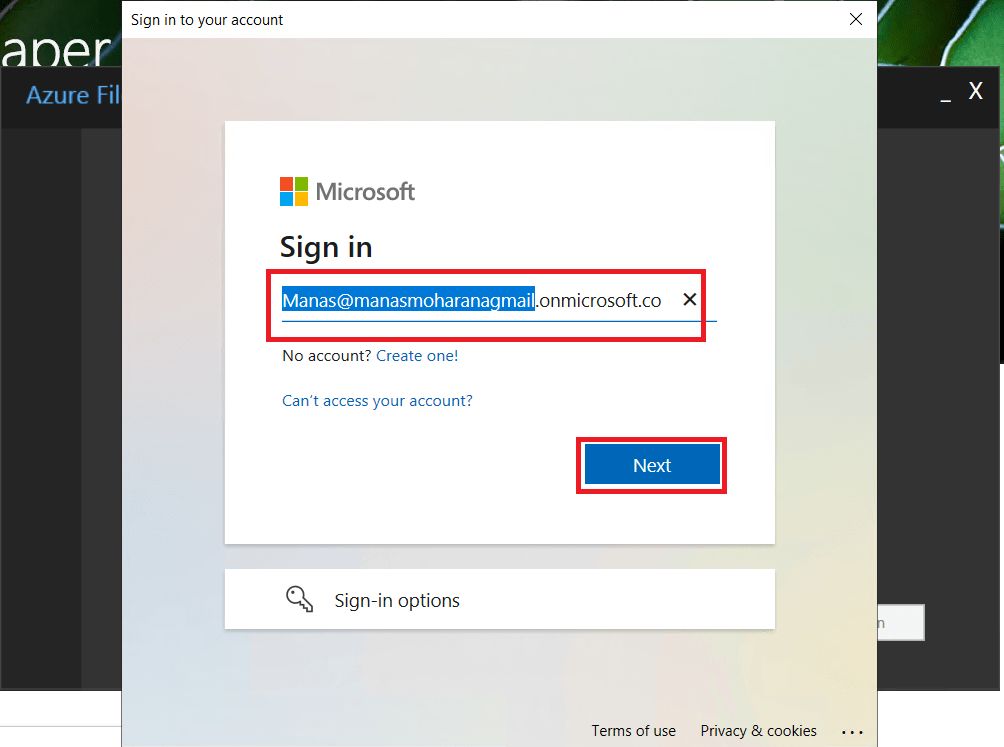
The Server Registration UI will be open automatically after installing the Azure File Sync agent. We have installed it in our previous section. In this section we will go through the following steps to Register the server with Storage sync service.
Step 1 – Open the Server Registration UI window manually from its file location: C:\Program Files\Azure\StorageSyncAgent\ServerRegistration.exe, if not opened automatically and to proceed with the configuration follow the instructions on the configuration as showing in the following figures.
Step 2 – As showing in the following window, we need to Log-In to our azure account as showing in the following figures.

Step 3 – After we sign in, in the next window we need to provide the following information as showing in the following figure.
- Azure Subscription : The subscription that contains the Storage Sync Service.
- Resource Group : The resource group that contains the Storage Sync Service.
- Storage Sync Service : The name of the Storage Sync Service with which we want to register.

Once we provided all required information, click Register to complete the server registration.
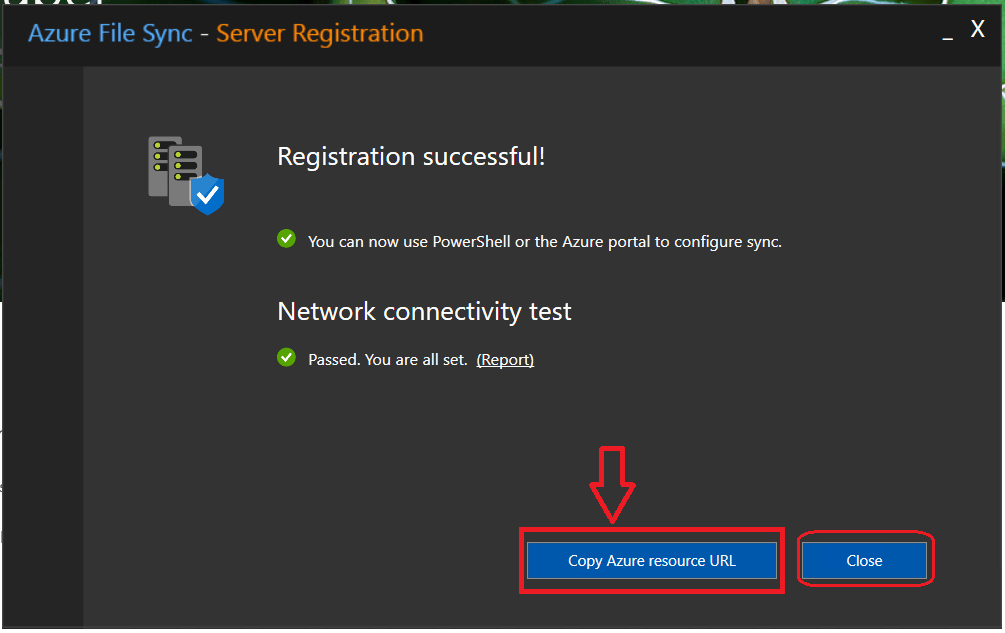
Step 4 – Copy the Azure Storage Sync Service Url as showing in the above figure to go to the Storage Sync Service page to configure Sync Group. In our case the URL is :
We can browse the above link to check and configure the Sync Group and we will find all Servers, we have registered in this section. following figure showing that , we have successfully register our servers.

Till now we have completed 4 sections out of 6 section. Now we need to complete the rest of following sections.
Configure Sync GroupAnd Cloud EndpointConfigure Server Endpoint
This article will be very large, if we try to cover the above sections in this article. So we will continue the above sections in our next article to finalize the Azure File Sync configuration.
Next Article : Part 26 – Azure File Service – Storage Sync Service – Configure Azure File Sync – 2
I hope this is informative to you. Please let me know if I missed anything important or if my understanding is not up to the mark. Keep reading, share your thoughts, experiences. Feel free to contact us to discuss more.
If you have any suggestion / feedback / doubt, you are most welcome. Stay tuned on Knowledge-Junction, will come up with more such articles.
Thanks for reading 🙂 .


4 Responses
[…] our previous article we have started discussing How to Deploy And Configure Azure File Sync Service and out of 6 section, we have covered 4 section in our last article. Today in this article we will […]
[…] our previous articles we have discussed How To Configure Azure File Sync. With the previous articles, we are going to press the pause button to our journey with Blob and […]
[…] Part 25 – Azure File Service – Storage Sync Service – Configure Azure File Sync – 1 […]
[…] Part 25 – Azure File Service – Storage Sync Service – Configure Azure File Sync – 1 […]